Did you know your Hava account supports MFA. Are you using it? MFA provides an optional layer of account log in security, but you probably already know that. In addition to your user name and password, you will be required to enter a one time code generated by a supported TOTP authentication application like Google Authenticator or Authy.
Setting Up MFA
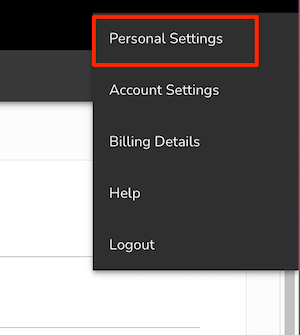
To enable MFA go to your Hava personal settings from the top menu bar.
The option to view the current MFA status can be seen in the left sidebar next to the padlock icon:
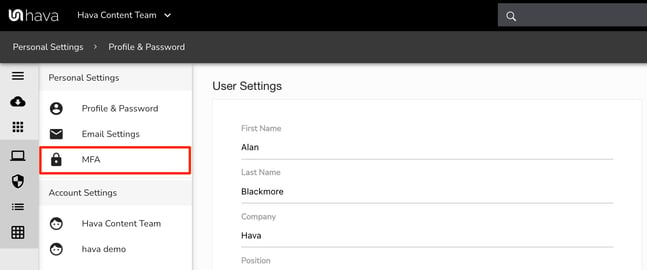
To enable MFA click the "Enable MFA" button. If MFA has previously been enabled, you will get the option to disable it instead.

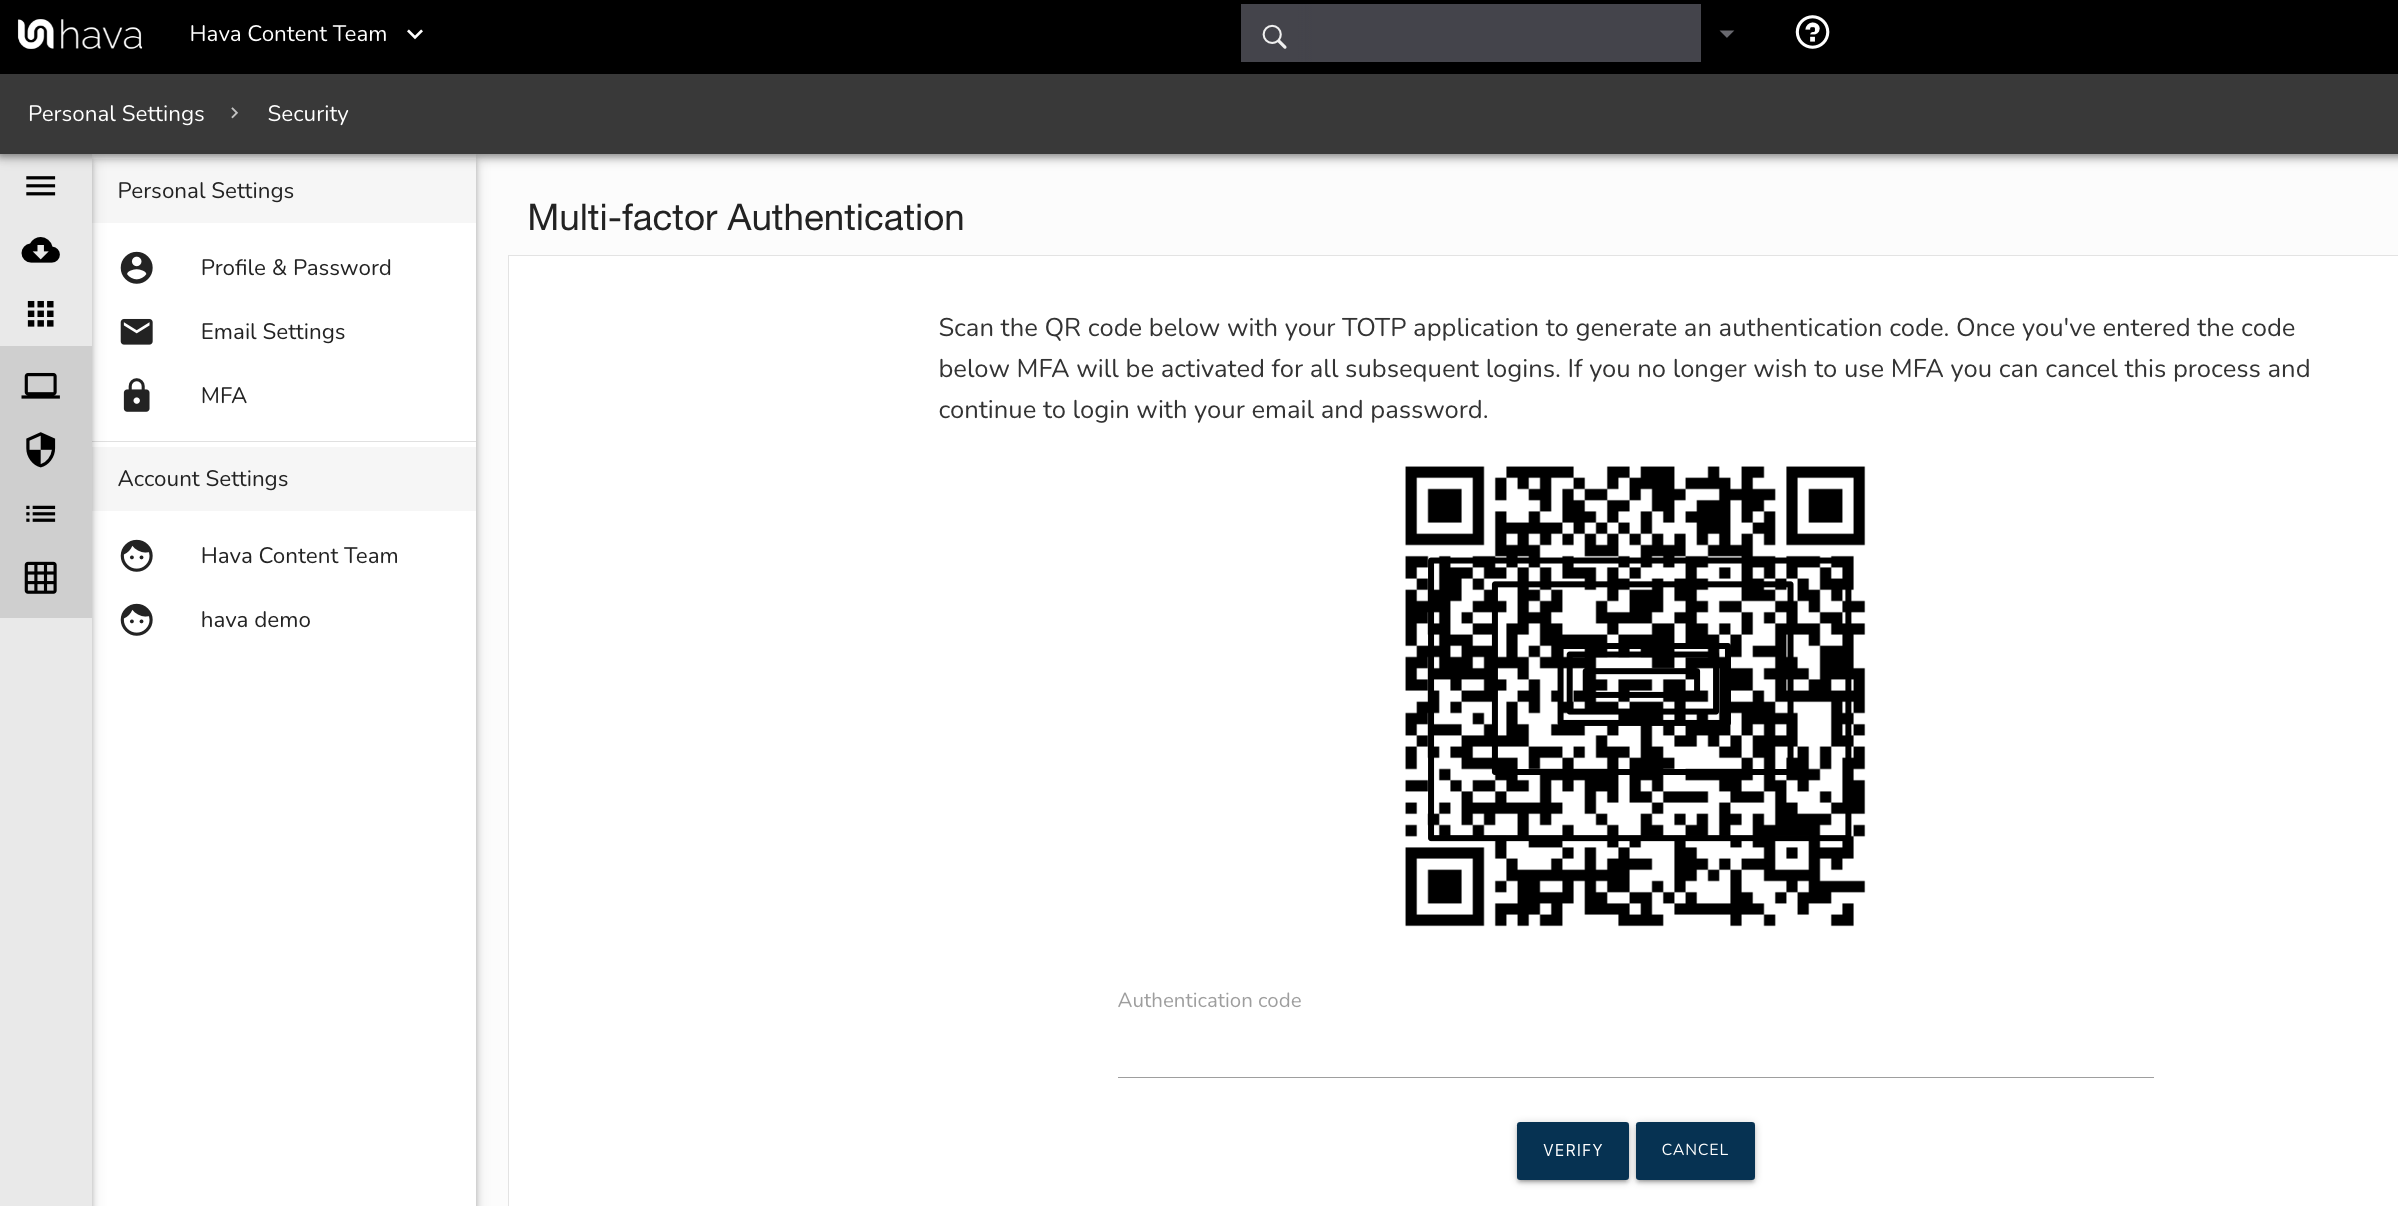
Next open your authenticator app, add an account using the option to scan a QR code. Then scan the QR code generated by Hava to link Hava to your authenticator app.
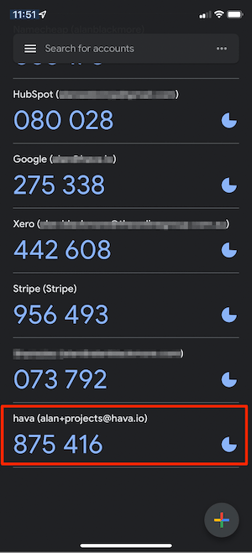
Your authenticator app will now be generating MFA codes to enable Hava access. In this example Google Authenticator running on an iPhone is being used.
 The next step is to verify everything is working to complete the process. Next open your authenticator app and copy in the auth code into the Authentication code box below the hava QR code and click verify.
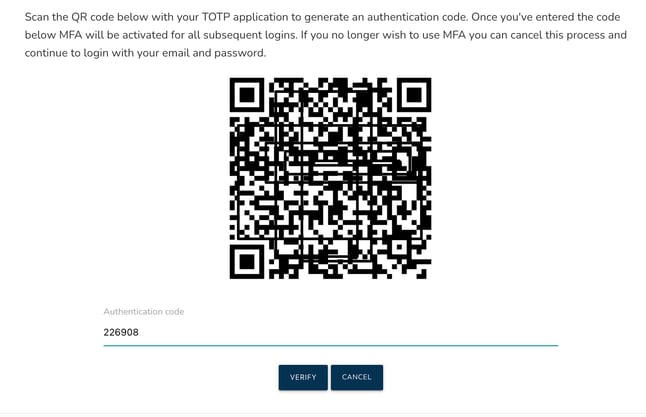
Once this step is successfully verified, your Hava MFA will be activated.
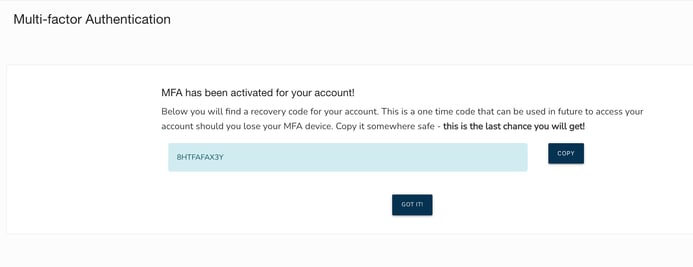
At this point make sure you copy and save the recovery code. This code can be used to log into Hava in the event that the device you use for MFA authentication becomes unavailable.
Logging into your Hava account using MFA
Once MFA has been activated on your account, you can log in as normal.
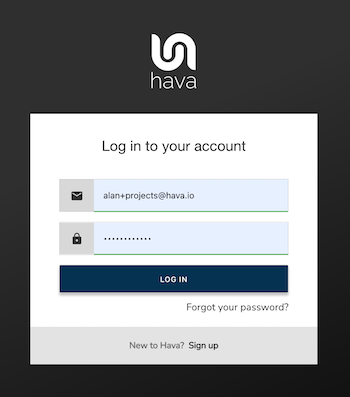
You will then be challenged for a one-time authentication code.
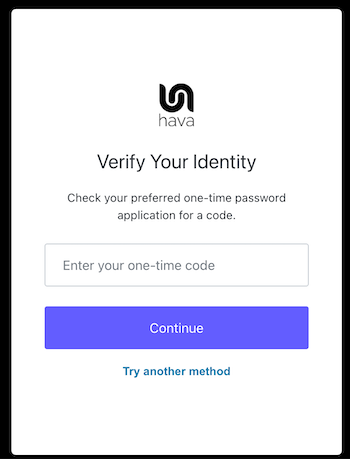
Open your authenticator app and copy the code provided, press continue and you will be logged in as normal.
What if I lose my authentication device?
It happens. Phones die, get lost or stolen or sometimes dropped in to a river at a music festival. In the event that you no longer have access to your authenticator app, you can use the recovery code you saved during the set up process to satisfy the 2 step authentication process.
You saved that code though, didn't you. In a safe place you can remember...good.
When you no longer have your phone and log into Hava with MFA enabled, when you are challenged for the one-time code, you can take the "try another method" option below the continue button:

After selecting try another method, select "Recovery code"
Enter your recovery code that you copied during MFA set up and placed in a secure place that was easy to remember.
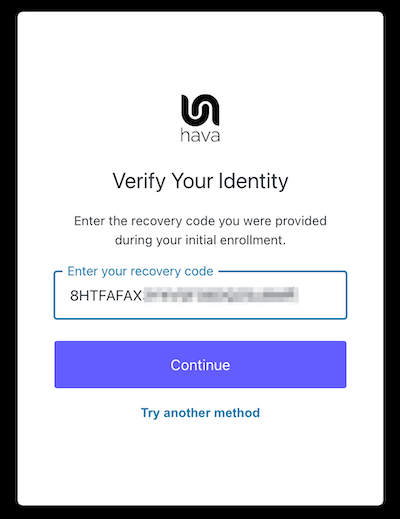
You will then be issued a new recovery code for use next time. Copy it and keep it in a safe, easy to remember place.
Check the "I have safely recorded this code" box and continue. You will be logged back in.
If you have permanently lost access to the device you used to set up Hava MFA, you should disable and then re-enable MFA again using a replacement device.
How to Disable Hava MFA
The disable process is super simple. From your personal settings in Hava, navigate to MFA
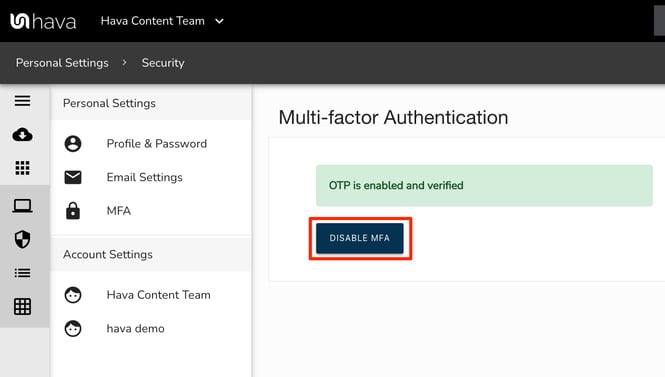
Click "Disable MFA" and then confirm that you really want to disable it.
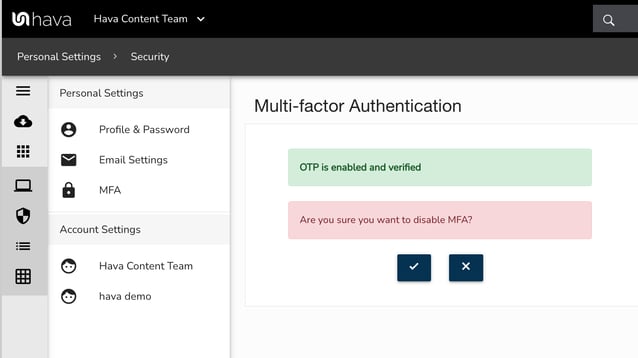
MFA is now disabled and you can log in using a password only.
What if I lose my authenticator device and my recovery code?
All is not lost. In the event that you lose your device and recovery code and are unable to log into Hava, please contact support using the primary email address associated with your Hava account and our engineers will assist with helping you gain back log in access.
Please bear in mind that our support team are based in Melbourne Australia, so there may be a delay responding to your support request for reactivation depending on your time zone.
If you are a current Hava user, MFA should be available in your settings now. If you can't find MFA, please contact support. If you are not currently using Hava to auto generate AWS, Azure, GCP and Kubernetes network topology and container cluster diagrams, we would love it if you would open a free account and start exploring exactly what you have running in your cloud environments.

You can do so using the button below:


